之前写了个透明过渡动画实现是基于Cocos Creator 1.x的,鉴于现在大多数开发者都使用2.x了,并且2.x与1.x中shader的使用方式有很大的不同,这里就把这个效果移植到2.x中。原文链接:cocos creator 1.x透明渐变效果实现
效果图如下:
在Cocos Creator 2.1中首先要先创建两个文件,分别是Material(材质)和Effect(特效)文件,创建方法如下图: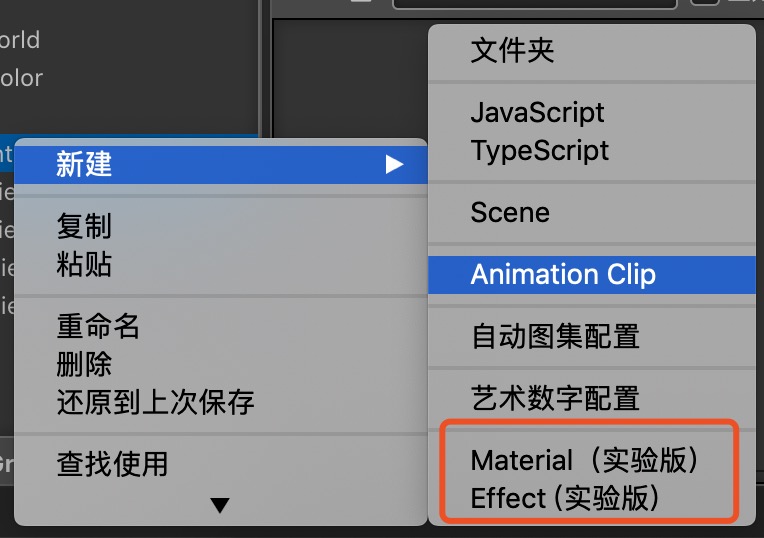
创建完成效果就是这两个文件: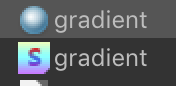
在文件系统中分别是如下两个文件: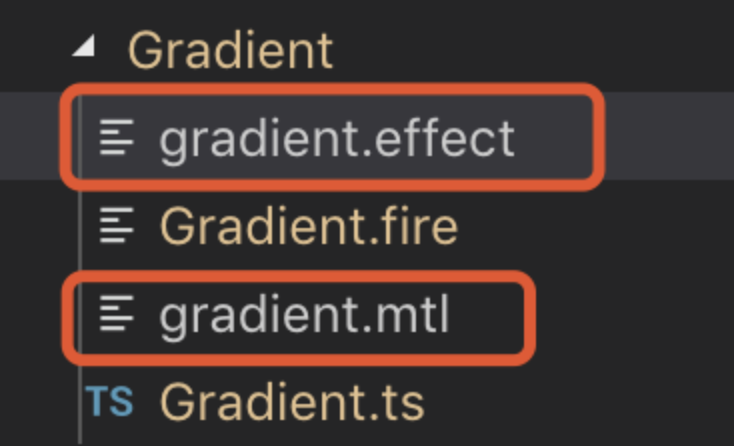
在编辑器中选中mtl材质文件,effect选择我们自己创建的effect,钩上USE_TEXTURE选项,如下图所示: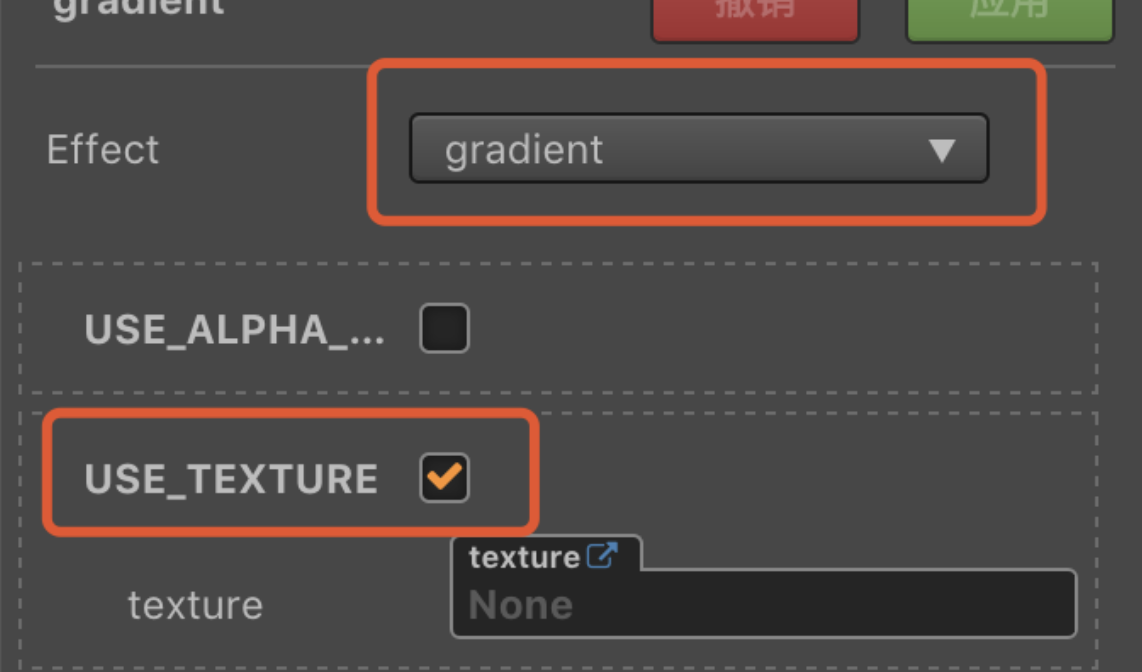
然后打开特效文件,我们shader的逻辑就是在这个文件里编写,打开文件,里面的内容不用删除,我们只修改frag shader部分就可以了,代码如下:1
2
3
4
5
6
7
8
9
10
11
12
13
14
15
16
17
18
19
20
21
22
23
24
25
26
27
28
29
30
31
32
33
34
35
36
37
38
39
40
41
42
43
44
45
46
47
48
49
50
51
52
53
54
55
56
57
58
59
60
61
62
63
64
65
66
67
68
69
70
71
72
73
74
75
76
77
78
79
80
81
82
83
84
85
86
87
88
89// 注意:当前版本的格式是实验性的,之后还会进行修改。
// 后续版本的格式不保证兼容当前格式,可能需要手动升级到最新版本。,
%{
techniques: [
{
passes: [
{
vert: vs
frag: fs
cullMode: none
blend: true
}
]
layer: 0
}
]
properties: {
texture: {
type: sampler2D
value: null
}
alphaThreshold: {
type: number
value: 0.5
}
}
%}
%% vs {
precision highp float;
uniform mat4 cc_matViewProj;
#if _USE_MODEL
uniform mat4 cc_matWorld;
#endif
attribute vec3 a_position;
attribute lowp vec4 a_color;
#if USE_TEXTURE
attribute mediump vec2 a_uv0;
varying mediump vec2 v_uv0;
#endif
varying lowp vec4 v_color;
void main () {
mat4 mvp;
#if _USE_MODEL
mvp = cc_matViewProj * cc_matWorld;
#else
mvp = cc_matViewProj;
#endif
#if USE_TEXTURE
v_uv0 = a_uv0;
#endif
v_color = a_color;
gl_Position = mvp * vec4(a_position, 1);
}
}
%% fs {
precision highp float;
#if USE_TEXTURE
uniform sampler2D texture;
varying mediump vec2 v_uv0;
#endif
uniform float time;
#include <alpha-test>
varying lowp vec4 v_color;
void main () {
vec4 color = v_color;
#if USE_TEXTURE
color *= texture2D(texture, v_uv0);
#if _USE_ETC1_TEXTURE
color.a *= texture2D(texture, v_uv0 + vec2(0, 0.5)).r;
#endif
#endif
ALPHA_TEST(color);
gl_FragColor = color;
// 这里是新增的逻辑代码
float temp = v_uv0.x - time;
if (temp <= 0.0) {
float temp2 = abs(temp);
if (temp2 <= 0.2) {
gl_FragColor.w = 1.0 - temp2/0.2;
} else {
gl_FragColor.w = 0.0;
}
} else {
gl_FragColor.w = 1.0;
}
}
}
然后我们再看业务代码,这里就比1.x中使用起来简单多了: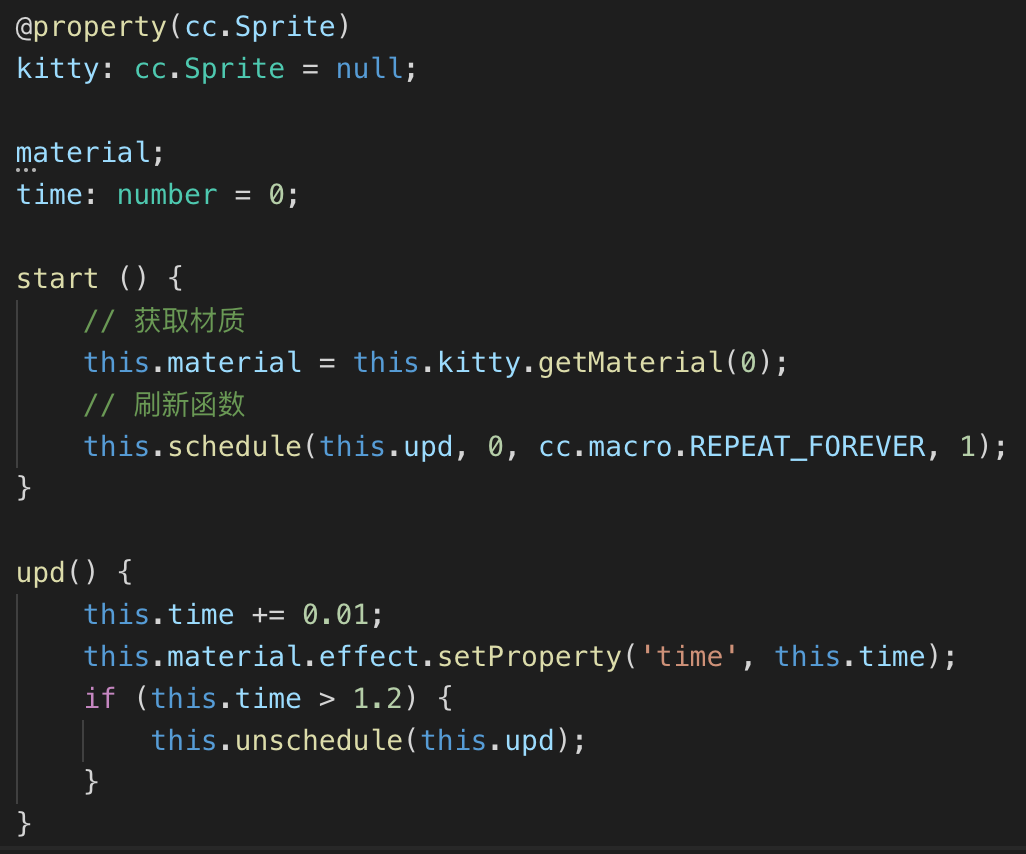
最后我们在编辑器中将它绑定到sprite上,选中要使用特效的sprite节点,将材质属性设置上我们刚刚新写的材质: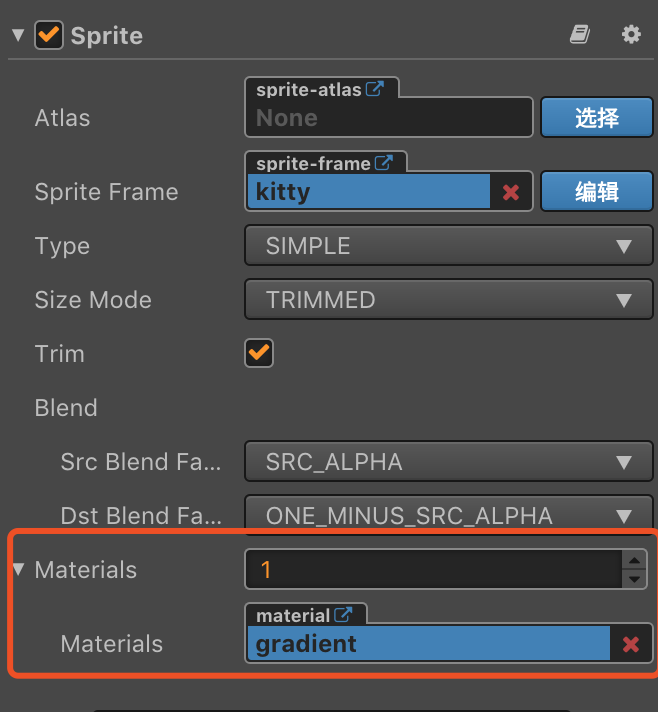
运行就出现开头的效果了,下面再贴出上篇文章的效果图: